Looper Mode for Zero-latency Looper Control
Overview
🎥 For a video demonstration and tutorial on how to use Looper Mode, watch this:
By default, even without Looper Mode, the messages are already sent out with a minimal delay. However, there may be some specific use cases where you need to reduce this delay even further.
The Looper Mode feature is available on all Morningstar MIDI controllers. When in this mode, your controller will immediately send out its MIDI messages when a switch is pressed, with zero latency, which is crucial for creating perfectly timed loops.
When this mode is engaged, you will not be able to perform any dual-switch press functions on your MIDI controller, such as banking up or down. This is because the controller will not wait to detect if a second switch is going to be pressed. It will send the MIDI messages the moment it detects a switch press.
You will need to exit Looper Mode in order to use dual switch functions again. Alternatively, you can program 2 of your switches to execute the Bank Up/Down functions, or use external Aux Switches to Bank Up or Down.
If you need a permanent solution, setting the Switch Sensitivity to 5 is the same as having the Looper Mode always engaged.
When you would need to use Looper Mode
When you are controlling time sensitive functions like Record, Overdub, Play, Stop etc. on your looping devices
When your workflow just requires messages to be sent immediately.
How to use Looper Mode
Using Presets
Looper Mode can be set up as part of your preset. There are 3 functions in the Looper Mode message type.
Engage
Disenage
Toggle - which toggles between Engage and Disengage

When you need to enter Looper Mode, you just need to set up a Preset that engages the Looper Mode function.
Using Aux Switches
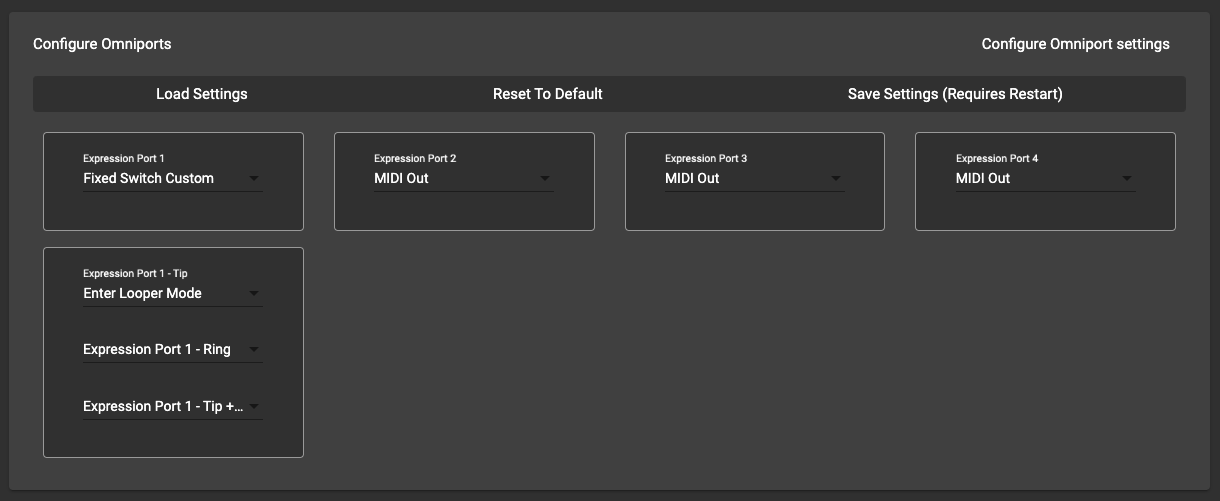
In the v3.8.x firmware, it is possible to use an Aux switch to trigger Looper Mode. This can be done in the Omniport settings, and selecting the Fixed Sw Custom option.

