Creating Virtual MIDI Ports in Windows OS
Overview
In Windows OS, when an application connects to a MIDI Device, the MIDI Port will no longer be available to other applications. That means, you will not be able to use one MIDI controller to communicate with multiple MIDI applications in Windows OS.
Because the Morningstar Editor also connects to the MC3/6/8 via a MIDI port, that means that you will not be able to use a MIDI Application like Ableton and the Morningstar Editor at the same time.
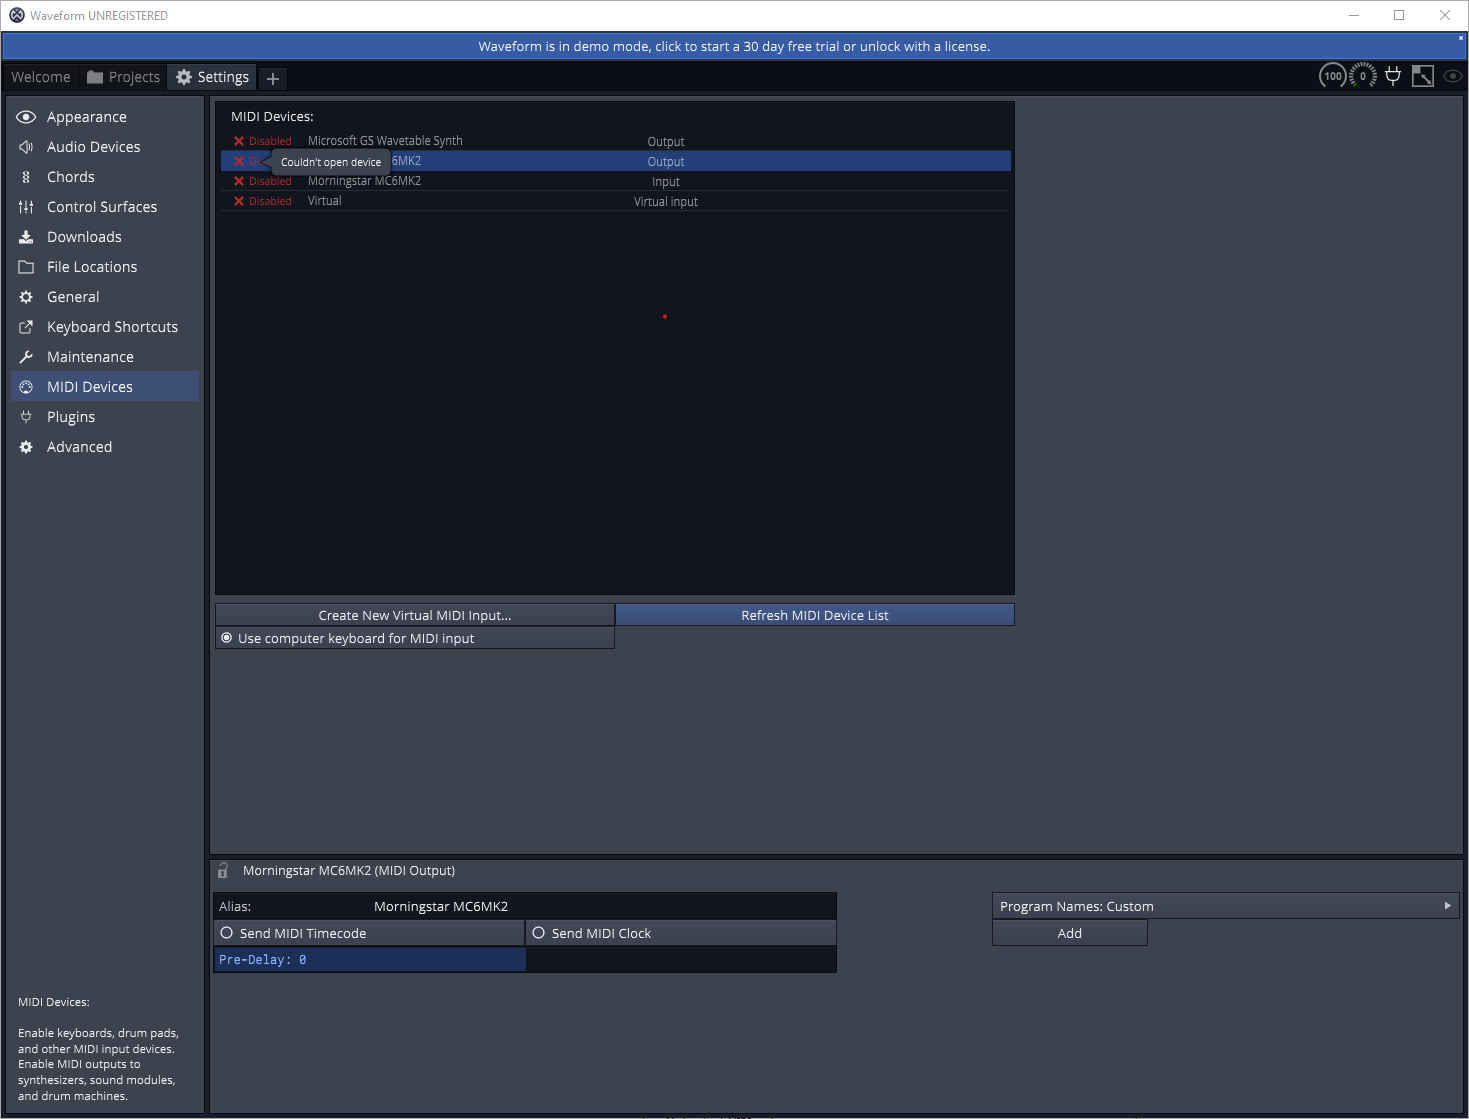
Unable to connect to the MC6 while it is connected to the Morningstar Editor
In this tutorial, I will go through the steps to create multiple virtual MIDI ports so one MIDI controller can communicate with multiple MIDI applications.
Bug in loopMIDI
Unfortunately, there seems to be a bug with loopMIDI. It works fine when the software is just installed. But once you restart your computer, the SysEx messages become somewhat garbled such that the Morningstar Editor cannot process it.
The only solution is to uninstall loopMIDI, and then re-install it again. This will fix the issue immediately.
Steps
Download loopMIDI
loopMIDI allows you to create virtual MIDI ports in Windows that are visible to your MIDI applications.
You can download the app here.
Download MIDI-OX
Besides monitoring incoming MIDI signals (and tons of other MIDI related functions), MIDI-OX allows you to, for this purpose, map MIDI Inputs to MIDI Outputs. This will allow you to map the MIDI Hardware that is connected to your computer to the multiple virtual MIDI ports that you have created in the loopMIDI app.
The app can be downloaded here.
Create your Virtual MIDI Ports in loopMIDI
After installing and opening the loopMIDI app, you’re ready to create your virtual MIDI ports. These virtual MIDI ports are what your MIDI applications will connected to.
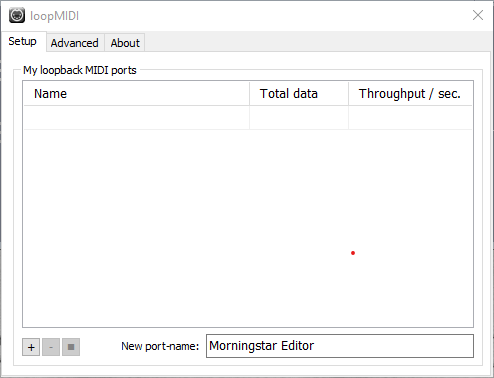
The first port I will create is called Morningstar Editor. This port will be used for the Morningstar Editor to connect to, in order to communicate with my Morningstar Controller.
Be sure to include Morningstar in the port name. If not, the Morningstar Editor will not be able to detect this virtual MIDI Port.
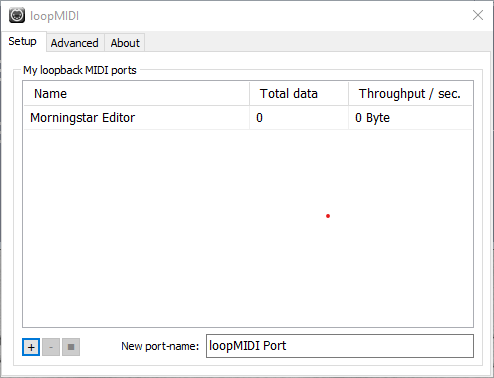
Added a port for the Morningstar Editor
Clicking on the + button will add the new port in the list.
Next, I will create another port for my DAW. In this example, I will be using the Waveform DAW.
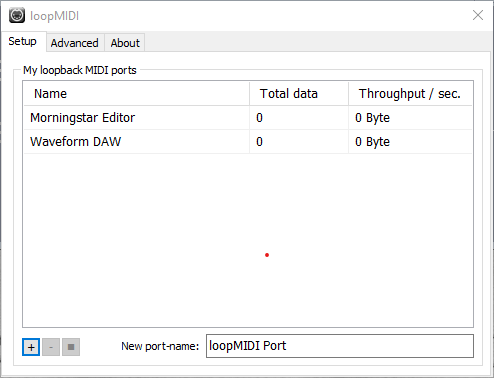
Added a new port
Now we’re ready to configure MIDI-OX to do something with these ports.
Open MIDI-OX app
If you already had MIDI-OX open before creating your MIDI ports, just close the app and re-open it for it to detect the new ports.
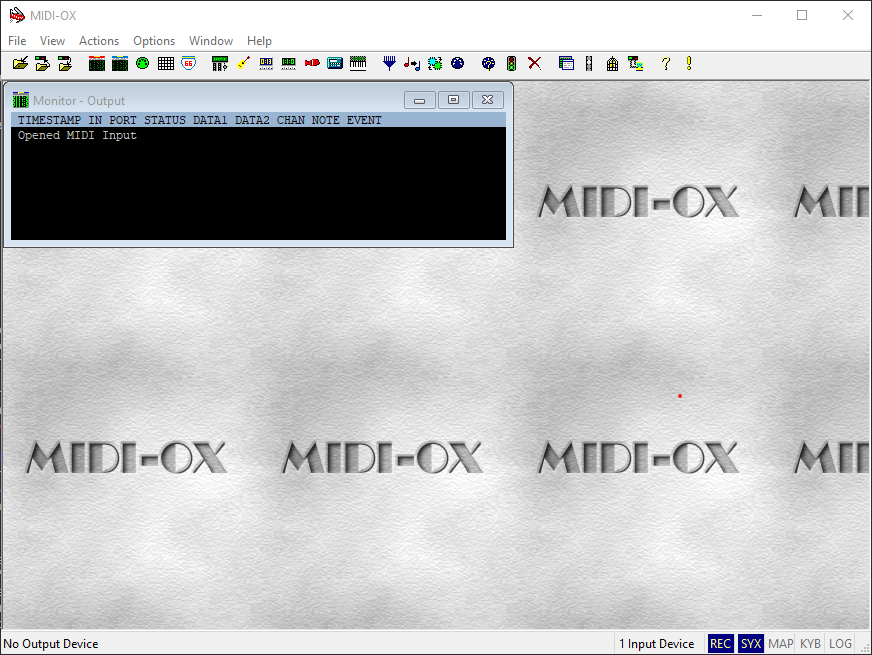
Once the app is opened, navigate to Options >> MIDI Devices.
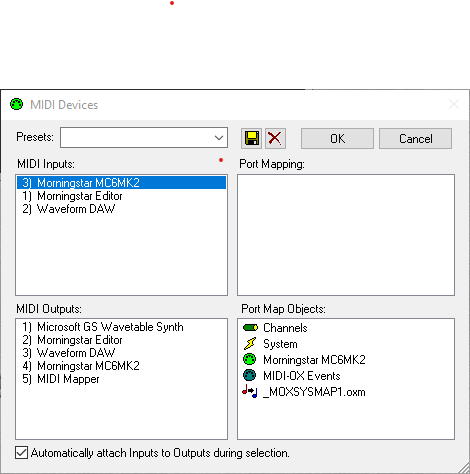
You can see your connected MIDI hardware, as well as the virtual MIDI ports that I created earlier in loopMIDI under the MIDI Inputs and MIDI Outputs section.
This window allows me to map the MIDI Inputs to the MIDI Outputs.
In MIDI Inputs, select your MIDI Hardware (or in this example, Morningstar MC6MK2).
In MIDI Outputs, select the virtual MIDI ports created earlier.
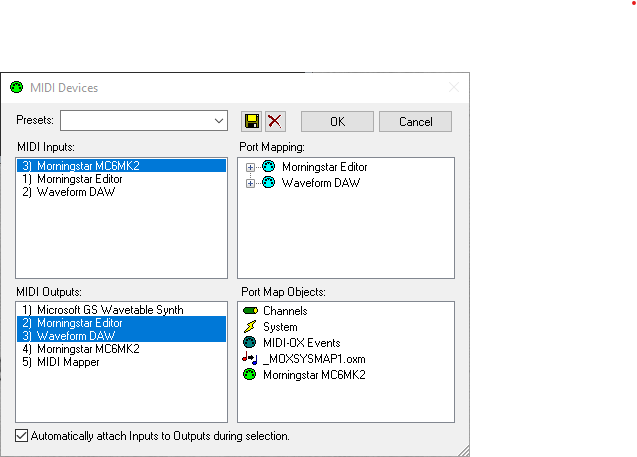
Once done, click on OK to save.
Next, navigate to View >> Port Routings
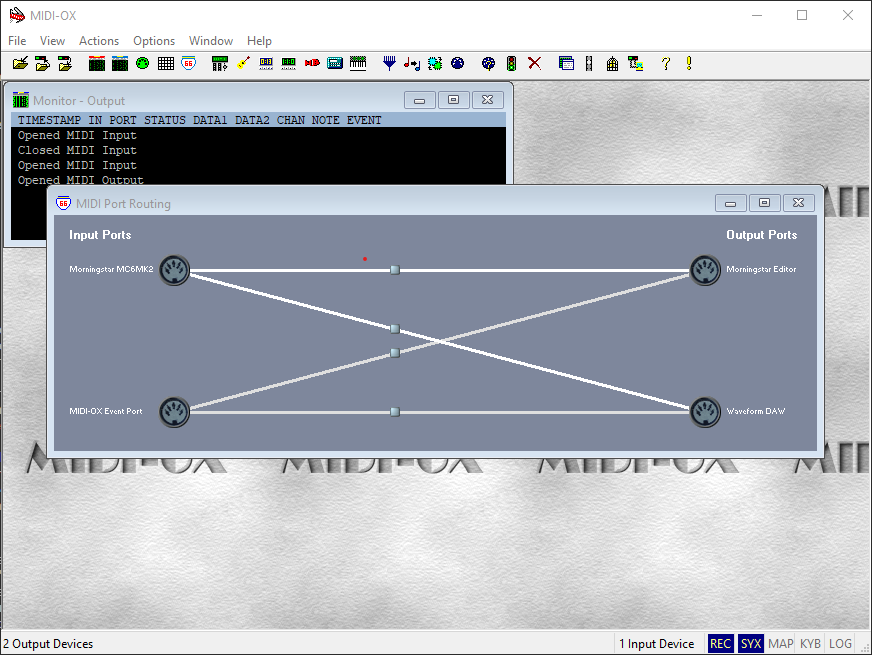
You can visualize the routings we created earlier. In the image above, you can see that the MIDI signals from the Morningstar MC6MK2 is now routed to the 2 virtual MIDI ports I created.
Now we are done with this and can proceed to connecting to these virtual MIDI ports.
Open the Morningstar Editor
Now, if I open the Morningstar Editor and select a device to connect, I will be able to see the Morningstar Editor virtual MIDI port I created earlier.
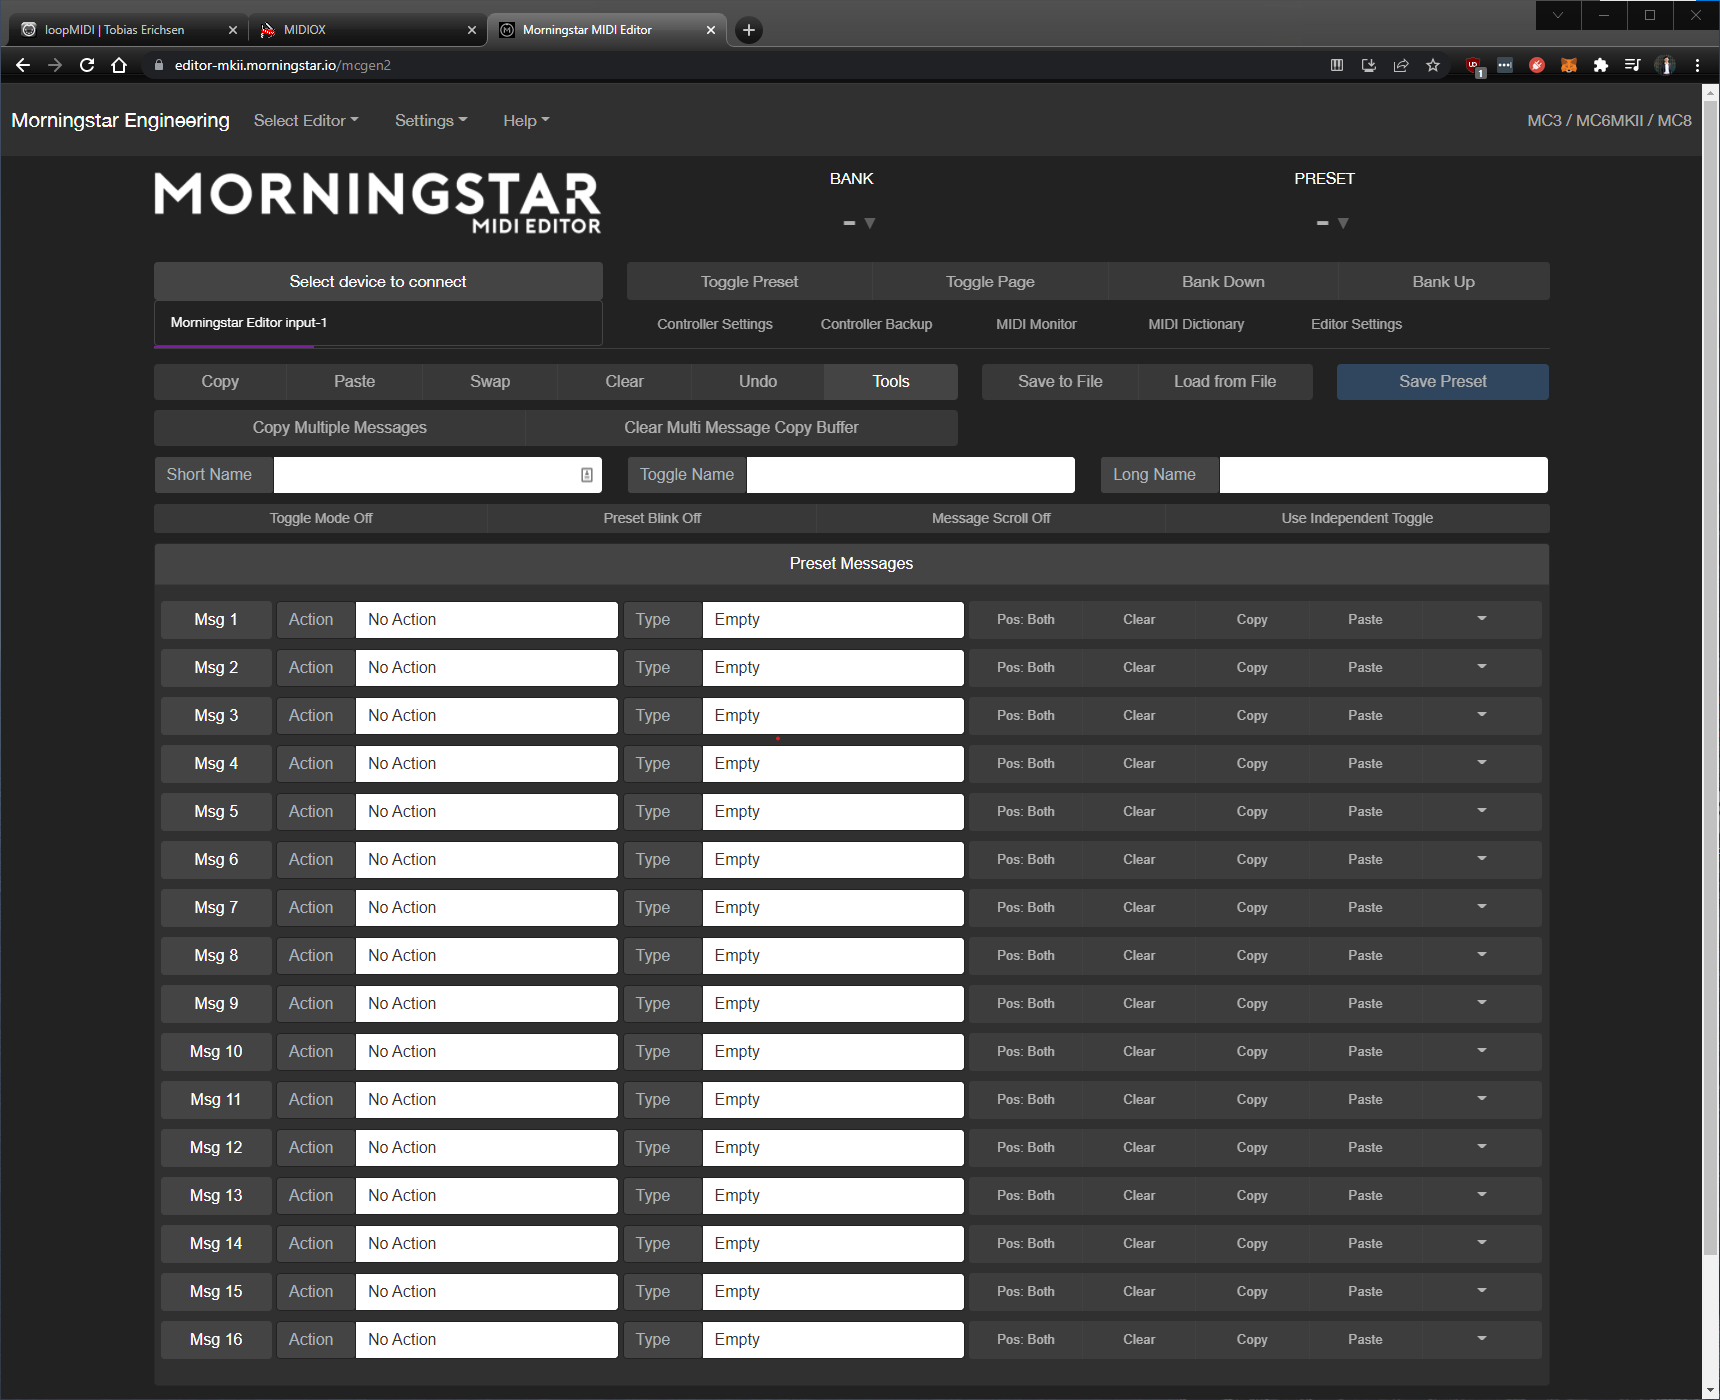
Connecting to this port will allow the app to communicate with the virtual MIDI port, which is turn is passing on the messages to the Morningstar MC6MK2 MIDI controller.
Test MIDI connection in DAW
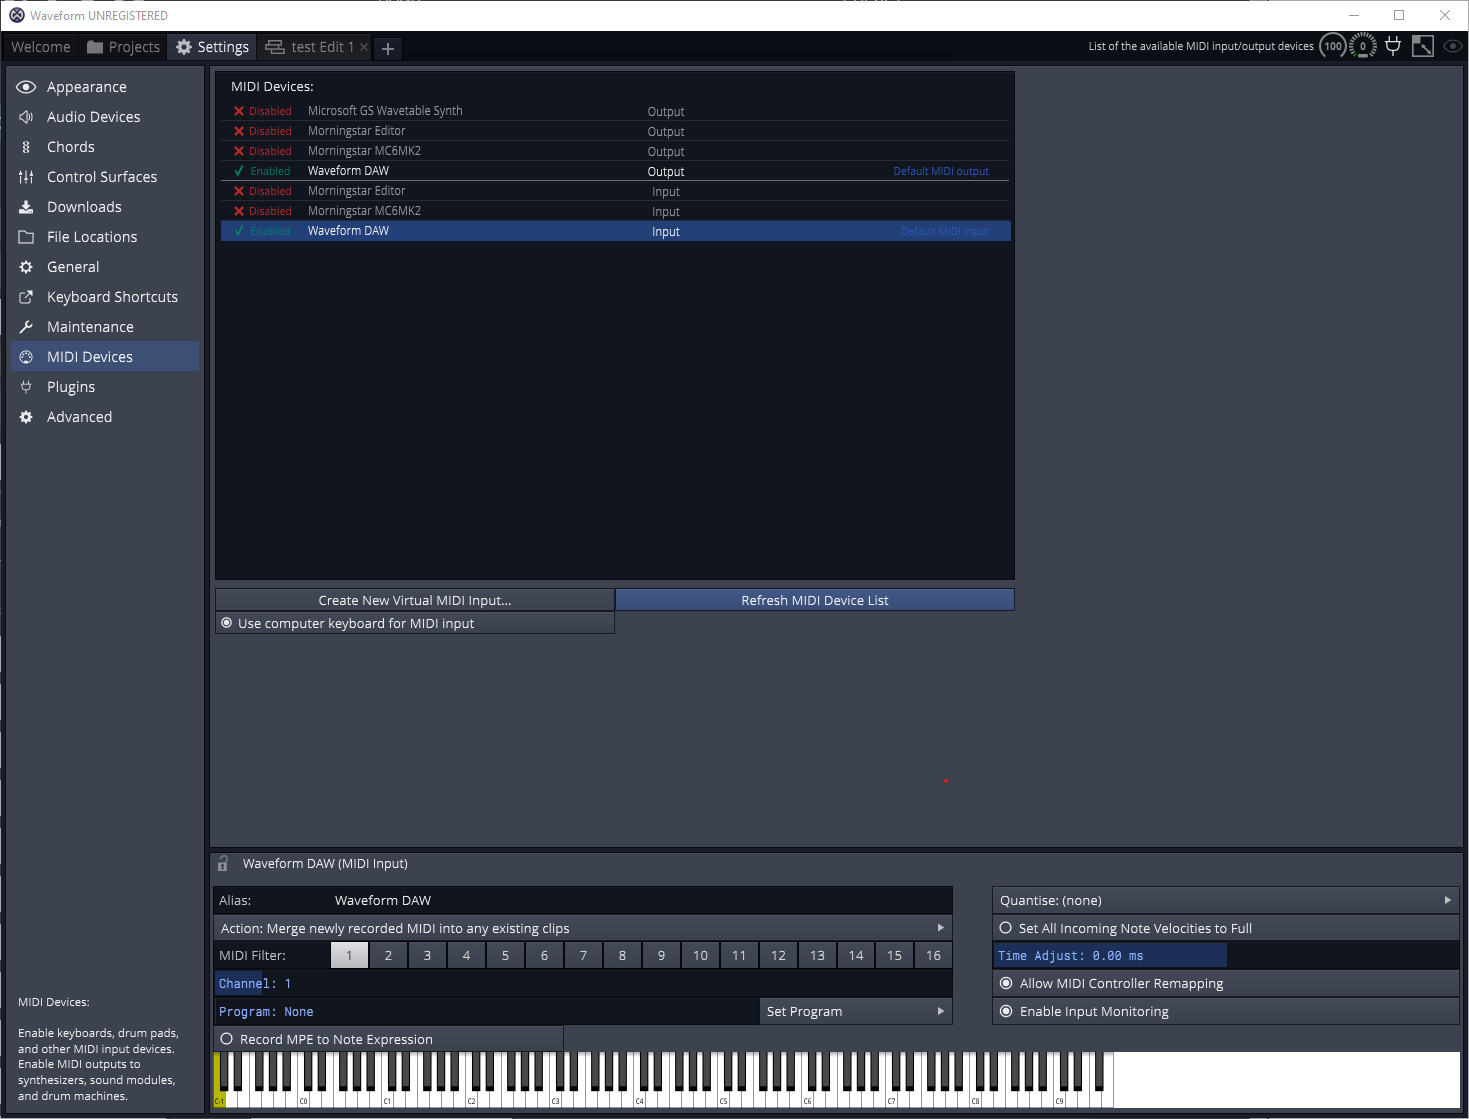
Navigating to the Waveform DAW, I can now see the virtual MIDI ports that I created as well. This time, I will connect to my Waveform DAW virtual MIDI port. This will allow me to use my MC6 to control the DAW as well.
End Notes
MacOS users will not have to trouble themselves with this setup, as MacOS allows multiple apps to connect to one MIDI device. Hopefully we will see an update in Windows that allow this.
